One of the most frustrating tutorial problems is this: your explanation is correct, your steps are correct, and viewers still get lost. Usually the issue is not instruction quality. It is visual focus.
That is where auto-zoom helps.
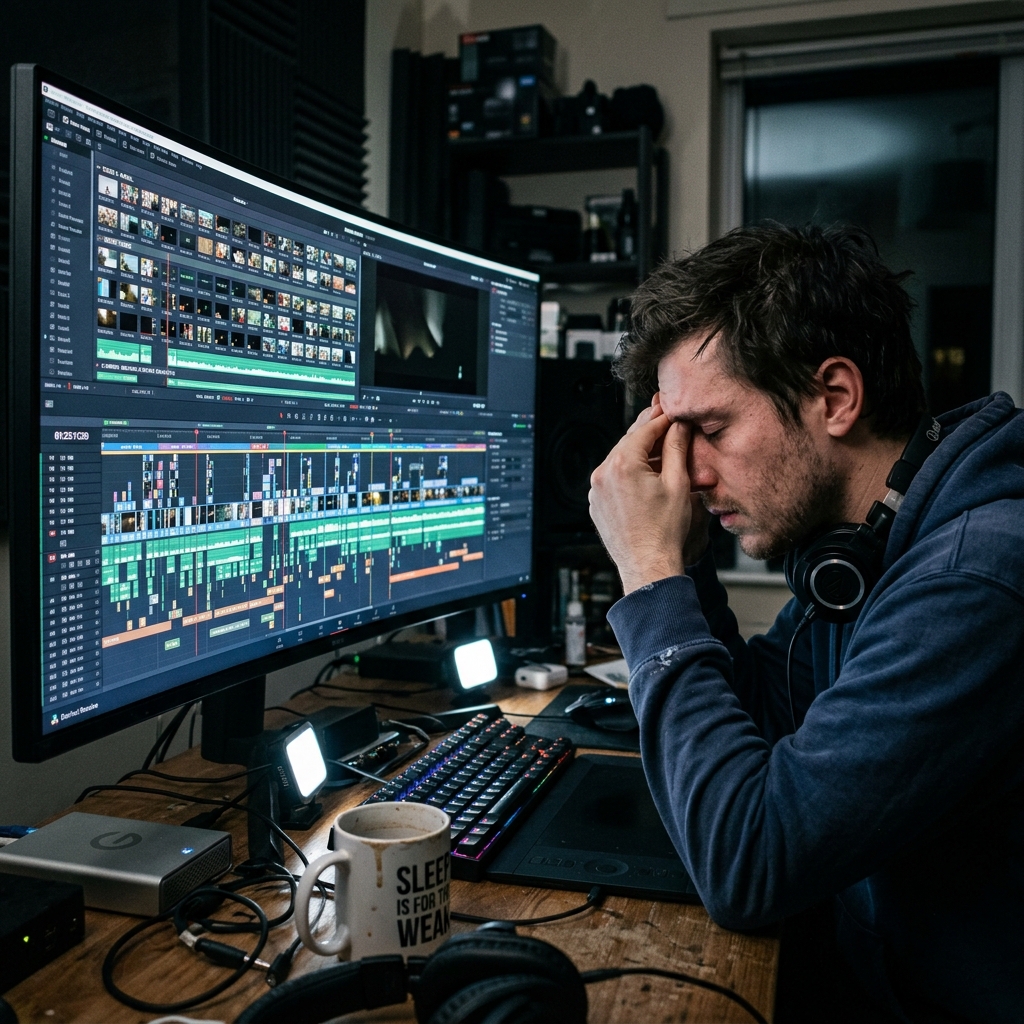
The Real Cost of Manual Zoom Editing
Manual zoom editing sounds simple until you do it at scale. You record, import, keyframe, tweak timing, smooth transitions, export, then repeat for every new tutorial.
For short videos, this can double production time. For longer walkthroughs, it can become the entire workflow.
How Good Auto-Zoom Actually Behaves
Good auto-zoom does not feel flashy. It feels almost invisible.
It should quietly guide attention to active UI areas, stay readable, and return to context without abrupt jumps. In practical terms, moderate zoom intensity and smooth transitions usually perform better than aggressive movement.
Settings That Work for Most Tutorials
If you are setting up auto-zoom for the first time, start simple:
- Resolution: 1080p minimum
- Zoom intensity: 1.3x to 1.7x
- Transition speed: medium (avoid instant snap zoom)
- Follow behavior: prioritize click targets over cursor drift
- Reset behavior: return to default framing between major steps
These defaults are easier to watch and usually require less correction afterward.
A Better No-Edit Recording Workflow
A reliable no-edit workflow usually looks like this: set output quality first, test zoom behavior on one short section, then record a full take with intentional cursor movement and concise narration. After that, export and trim only obvious dead space.
Treat zoom as instructional guidance, not as an effect.
Example Workflow: 5-Minute Tutorial
Here is what that looks like in practice:
- Write a 5-line talk track (one line per step).
- Record one uninterrupted pass.
- Let auto-zoom follow each click target.
- Keep your pointer still while explaining each action.
- Export and trim only intro/outro dead space.
For many teams, this workflow alone removes most editing overhead.
Mistakes That Make Auto-Zoom Feel Bad
The most common mistakes are over-zooming, triggering zoom too frequently, and combining fast cursor movement with fast camera movement. When all three happen together, videos feel chaotic and tiring.
If viewers should be learning, they should not feel the camera.
Quick Quality Check Before Publishing
Use this five-point check:
- Can a new user identify each click target instantly?
- Is text readable on a laptop without fullscreen?
- Does the zoom ever hide important context?
- Does motion feel smooth instead of jumpy?
- Can someone follow the video at 1x without rewinding?
If the answer is yes to all five, publish confidently.
Tooling Note for Faster Production
If your goal is "record once, publish quickly," use a recorder that applies zoom during capture instead of post-production. Cubix Capture is built for that workflow and also smooths cursor movement to keep tutorials easier to watch.
Final Takeaway
Auto-zoom is not about style. It is about reducing friction. When viewers can instantly see where to look, they understand faster, stay longer, and complete more tutorials.
Related reading: